Photo display
Photo-Hotlink
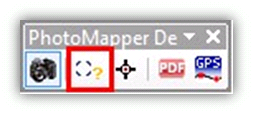
Activate the "Preview/Edit" tool in the PhotoMapper Desktop 10.8 toolbar.
When you now move your cursor over the capture point of one of your photos, a preview of your photo will pop up and show its Filename including the memo content of the picture (works with the Ricoh G900SE / G800SE / G700SE / Caplio 500SE).
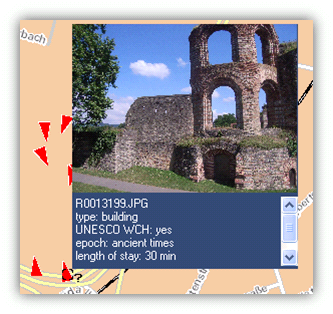
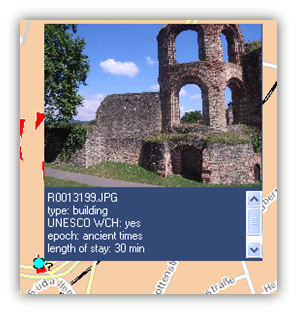
When you hit the capture point, the preview will show till you click with your cursor next to the capture point.
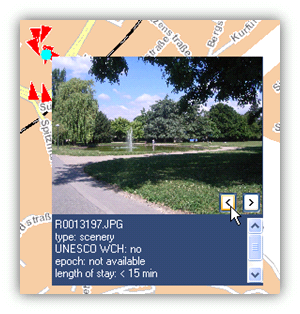
In the case that two or more photos are located in the same capture point, you will be able to navigate in the preview window throught those pictures. The matching filename will be shown in first place of the file menu.
Symbols
PhotoMapper Desktop 10.8 allows you to assign symbols indicating the direction of taking to the positions of taking in the map.
Just click in the menu on “Edit” > “Add symbols with indication of direction”. Now all positions of taking of the selected layer are marked with a black arrow.
Direction indicator
In the EXIF header of the image, the direction in which the picture was taken can be saved. It can be registered by the GPS device in two different ways:
1. Using a GPS receiver with an integrated digital compass:
In this case, the direction of taking is registered by the digital compass, communicated to the camera and saved in the moment the picture is taken in the header. The direction of taking is indicated in degrees. North corresponds to 0°, East to 90°, South to 180° and West to 270°.
The GPS camera Ricoh G800SE / G700SE / Caplio 500SE is available with an integrated compass and GPS receiver.
2. Using an ordinary GPS receiver:
With a GPS receiver, the direction of taking can be construed from the last registered position data. The photographer has to make sure that the moving direction shortly before the taking is the same as the direction of sight. The change in position should be at least 3 meters.
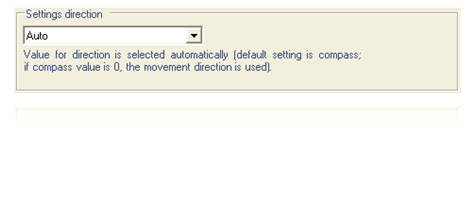
With the "Display direction settings" you can adapt the direction information to be used to your recording device. The "automatically" setting checks, where there is a compass value. As the Exif field does not accept any empty fields, we assume that no compass was used if the value is "0". In the rare case that a picture has been taken exactly in Northern direction, there may be an error at this place. To exclude that case, please choose the corresponding entry from the menu. But the direction of taking can be corrected using the software functionality of the PhotoMapper Desktop 10.8, see paragraph "Orientate".
Orientate
With the “Orientate” function you can change the direction of view at the location of taking in the map.
Activate the "Preview/Edit" tool in the PhotoMapper Desktop 10.8 toolbar.

Select the photo you would like to edit by clicking on its location of taking in the map. Or mark the photo in the PhotoMapper Desktop 10.8 window. The location of taking will be highlighted in the map with a green dot.
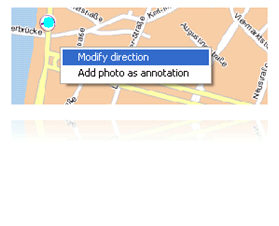
Right-click on any part of the map or select "Modify direction" from the menu.
Now a compass is displayed over the point where the photo was taken. Edit the direction of sight by clicking on the compass and drag the compass needle to the desired direction with the mouse button kept pressed. Alternatively, you can use the control bar under the compass for the setting.
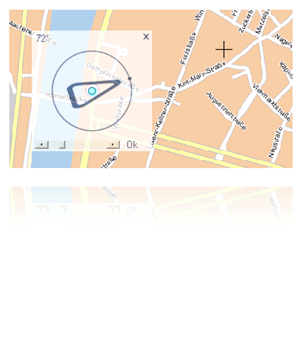
Confirm the direction of sight with "OK" or if you would like to discard the modification, cancel by clicking on "Close".
You can repeat this process anytime, thus correcting the direction of sight.