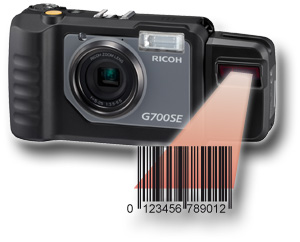
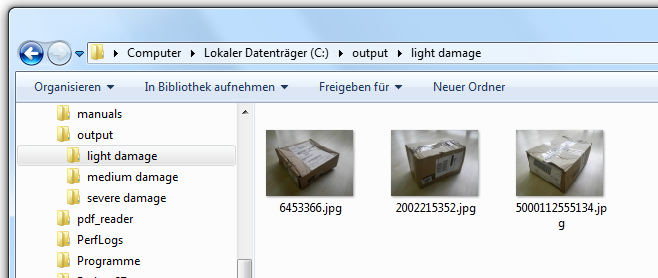
This example shows how to sort different images of damaged products in a predefined directory structure based on the damage. In this case a Ricoh G700SE with a barcode module is used to document the damage.

You can find more informations about this camera and the complete solution for the photo documentation on this website: www.data-imaging.de.
Now You make photos of the damaged boxes, scan the barcode and classify the damage. The images will be copied automatically in a network directory by the camera.

At this point dataIMAGING Server will be used. You just have to configure the application once, afterwards the service will run in the background and creates automatically the desired PDF reports.
Start dataIMAGING Server Configuration
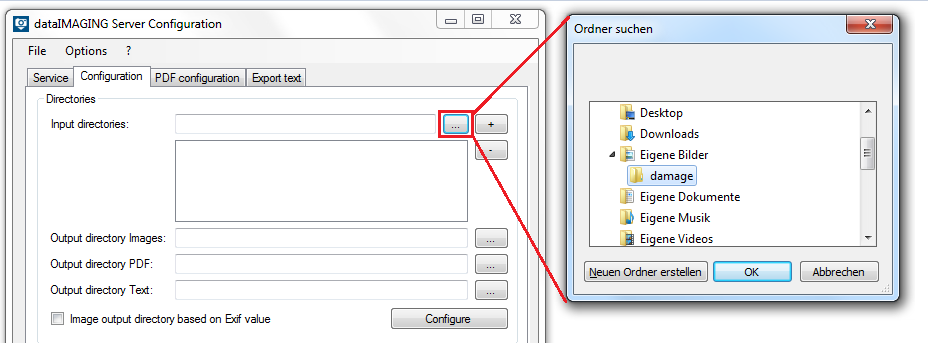
To start the application dataIMAGING Server Configuration open Start -> All Programs -> dataIMAGING Server -> dataIMAGING Server Configuration. Now open the tab Configuration.
Choose input and output directories
First You have to choose the folder, where the images are saved, as input directory. Click the button [...] and navigate to the desired input directory.

Afterwards You choose the output directories for the images and the PDF report. In this case You use the function Image output directory based on memo value and assign the memo values to a directory.

Additionally, You can activate the checkbox Organize not assigned images automatically in subfolders, which will automatically create the directories and assign the memo values to the corresponding directories.
Image editing
Now You can edit more preferences for the image processing. You can choose, if the images shall be renamed and in what time period they shall be processed.

After setting this configuration every day the uploaded images will be processed and rearranged in the desired folder structure.
