|
|
The map in the browser |
|
|
|
The map in the browser |
|
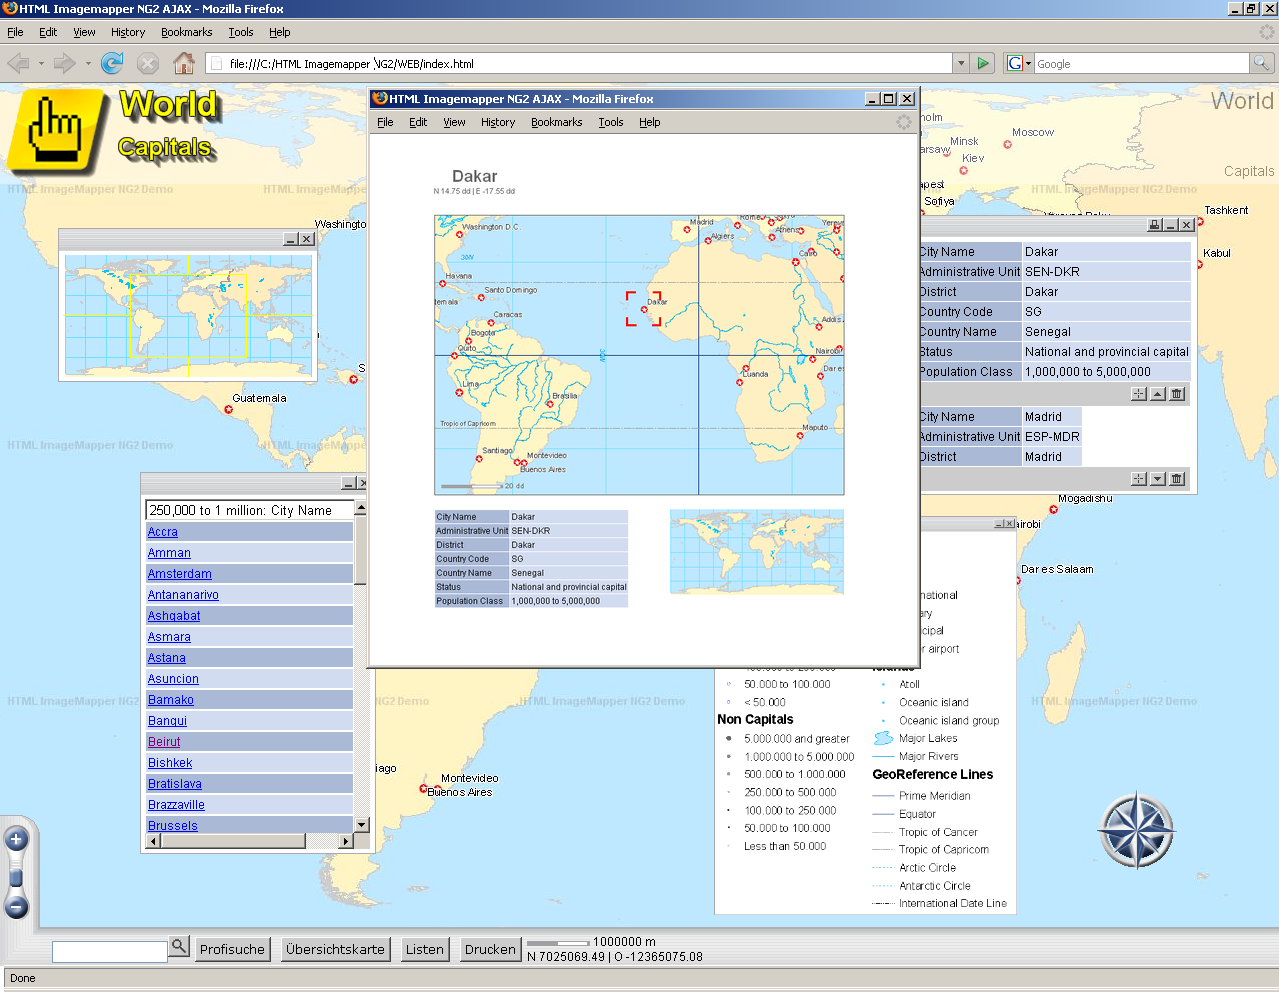
In this chapter we want to give you a deeper understanding of the web map you created.
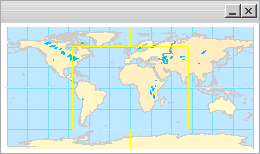
The outline map is for better orientation in the map when working with high zoom levels. It displays the whole exported map section.
Cross hairs mark the currently visible part of the map on the HTML site.
The outline map serves in addition as a navigational tool. Click into the outline map to move the map section. The big map image then “flies” to the new position.
The characteristics of the outline map can be set up under the “Layout” index tab through the button “Adapt outline map”.
There are different zooming possibilities in the browser.
In the "map” dialog box (chapter 4.1) of HTML ImageMapper 13.3.2 the author can individually define an arbitrary number of zoom levels or scales respectively.
Zooming with the scroll button
Zoom into or out of the map by moving the scroll slide (in the bottom left corner) up or down
Zooming with the mouse wheel
The most comfortable alternative is zooming with the mouse wheel. Just move the wheel up or down. The map scale changes according to the zoom levels specified by the author
Zooming on objects
The online user can zoom in directly on objects in the browser by:
The HTML ImageMapper13.3.2 provides two search functions:
Simple search
The simple search function is always visible at the lower map edge, if the search has been activated. Just enter a search key. The search is carried out over all searchable layers and all activated attribute data.
The search result is delivered in form of a list. Click on an element of this list to zoom in on it.
Advanced search

The professional search is accessed with a button in the navigation bar below the map. It is also carried out over all searchable layers. However, the search can be considerably limited.
In a text field, the search is always carried out with the parameter contains. In numeric fields, you can choose between the search parameters is equal, bigger than and smaller than.
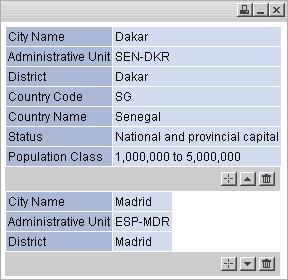
As soon as an object is left-clicked upon with the click function “Show attributes”, all object attributes are displayed on the map in a window floating over the map. This window is attached to the object.

There is always just one attribute window displayed at a time.
 In order to compare attribute data of different objects, you can move objects to the pin board using the pin needle.
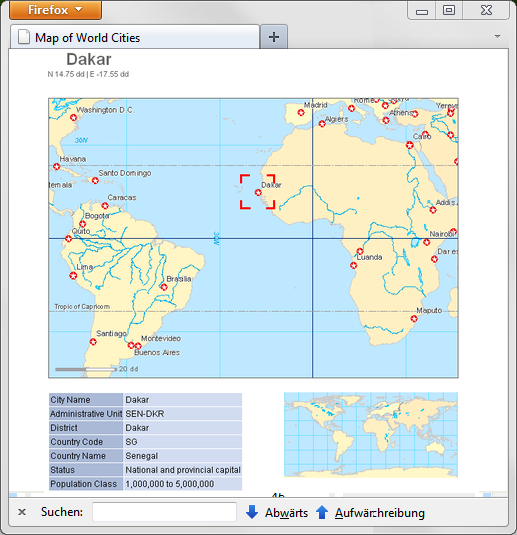
![]() The printing function can be started directly out of the attribute display. The print preview displays the map section surrounding the object, the outline map and the attribute data.
The printing function can be started directly out of the attribute display. The print preview displays the map section surrounding the object, the outline map and the attribute data.
 The attribute window can be closed again by using the cross.
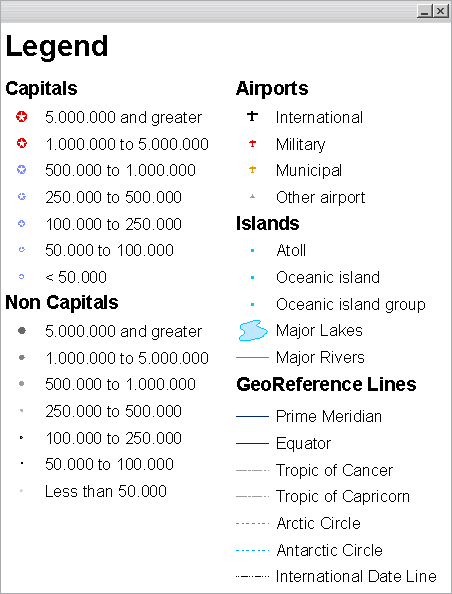
The HTML ImageMapper 13.3.2 exports the legend to the browser exactly the way you have designed it in ArcMap.
Access the legend with the button in the navigation bar below the map.

With the button “lists” in the navigation bar below the map, the list window is accessed.
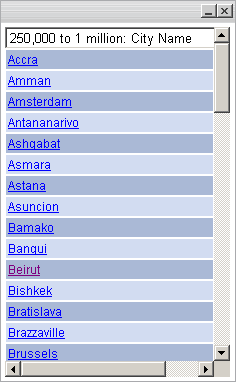
If several lists have been created, you can select a list with a pulldown menu. Below the pulldown menu all the elements are listed alphabetically. When the user clicks on one of the element, the map zooms on the respective object and opens the corresponding attribute window.
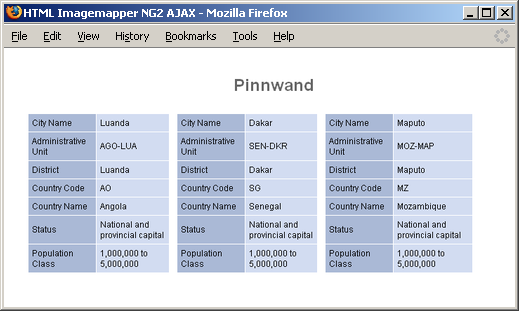
The pin board enables you to compare the attribute data of individual objects.
The attribute data is listed in the pin board one below the other. Every single entry can be minimized, deleted or the corresponding object can be accessed.
 Printing the pin board contents.
 Zooming to the corresponding object in the map and display of the attribute information.
 Minimizing the attribute information. Only the three first lines are displayed.
 Deleting the entry from the pin board.
The print function can be accessed through several elements of the HTML site.
1. „Print" button in the navigation bar

The print preview displays the current map section as seen in the browser, without any additional elements.
2. Printing attributes data
The printing function can be activated from the attribute display.
It displays the current map section, the attribute data, the selected object and the outline map.
3. Printing the pin board contents
The print function can also be started from the pin board.
The print preview displays the attribute information available on the pin board.
4. Printing the search results list
The search results list can be printed with the printing button of the search window.

The compass rose is another navigation tool. Click on north, south, west or east to move the map into the indicated direction.
Click into the center of the wind rose and keep the left mouse button pushed, then pull the mouse into the direction you want to move the map and the map will start moving. The further you move the mouse from the center of the wind rose, the faster the map moves.
Note: You can also navigate comfortably through the map with the mouse pointer. After a double click, the clicked-on position is displayed in the center of the map.