Configuration
Imaging Importer can only start to work, if a destination directory has been set before where photos can be moved to.
The configuration menu can be accessed in two ways.
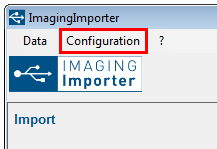
1. Launching the configuration from the menu bar
Click the item "Configuration" in the menu toolbar to access the menu where the destination directory can be defined. For this purpose, the user interface must be open.
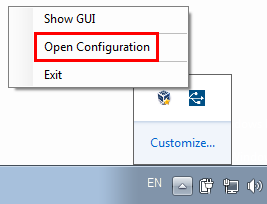
2. Launching the configuration from the systray
If the interface is not opened, Imaging Importer works in the background and can always be accessed from the system tray.
Open the context menu by right-clicking the "Imaging Importer"-Icon. Select "Open Configuration" here.
Setting the destination directory
Select the destination directory where you want the photos to be imported via the file browser  or enter the directory directly in the provided text box.
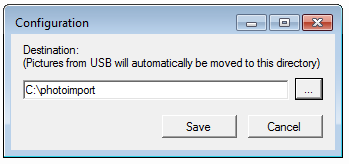
Confirm your input with  .
.