Import
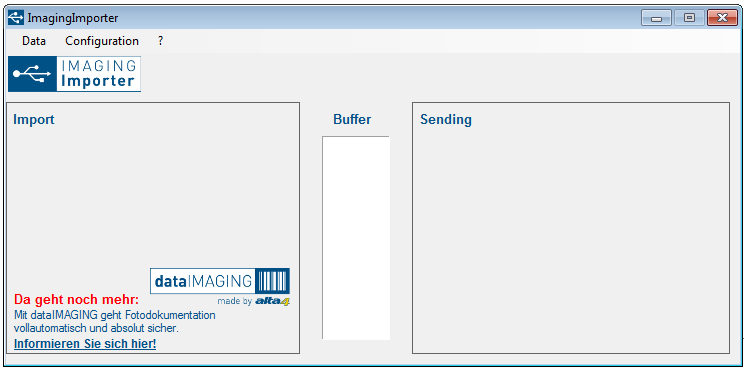
After the configuration of the destination directory has been made and the application is running in the background, the user interface will open up and you will be informed, when a new volume (e. g. a camera) with an image directory is detected.
You will be asked if you want to import the images.
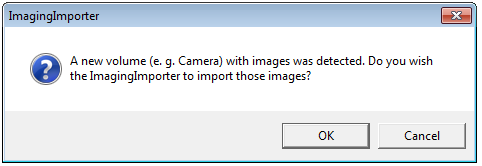
After confirming with "OK", all photos are moved to a temporary directory, renamed with a unique identifier, and then moved to the destination directory.
You always have an overview of the current status
During the import you are informed when the import was started and how many photos have been moved to the buffer.
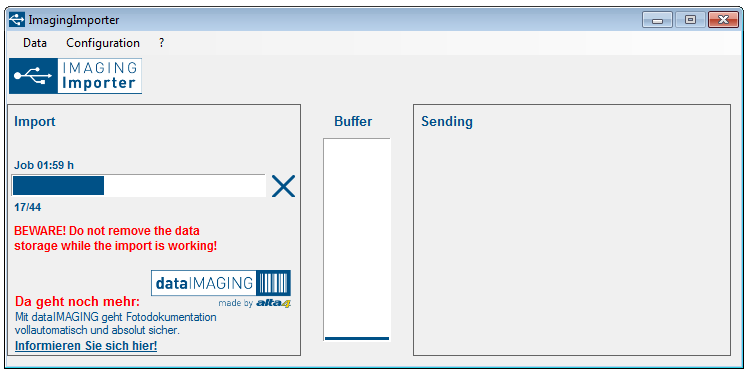
You will be informed about the current status of the photo transfer from the buffer to the destination directory, too.
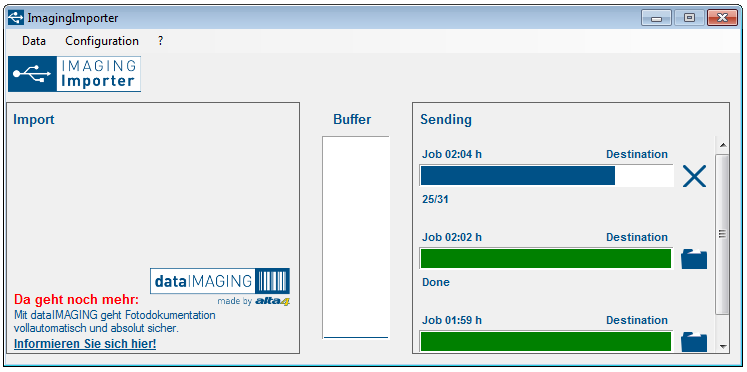
After the import, a green status bar will indicate, if the import was successful.
A red status bar shows up when the import failed, e. g. due to a lack of disk space. In that case, you have the possibility to repeat the process by clicking the button  .
.

You can check the result of the import operations at any time by opening the target directory with a left-click on  .
.
From the target directories photos can now be processed by the data imaging server.