PDF photo-report
The PDF Photo Report tool gives you the possibility of exporting selected photos as PDF files. This is facilitated by the comfortable Wizard functionality.
Since PhotoMapper Desktop 10.2.1 you have the possibility to save and load your PDF-Configuration. This simplifies the creation of multiple PDFs with the same preferences. When you open the PDF Photo-Report tool, the first window offers you the possibility to load a saved PDF-Configuration. After you finished your PDF Configuration there is a button to save your PDF configuration
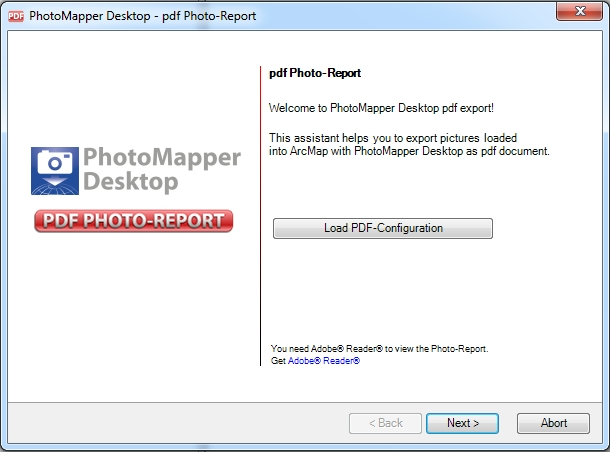
If you want to start a new configuration just skip the first window by clicking the Next button.
Step 1
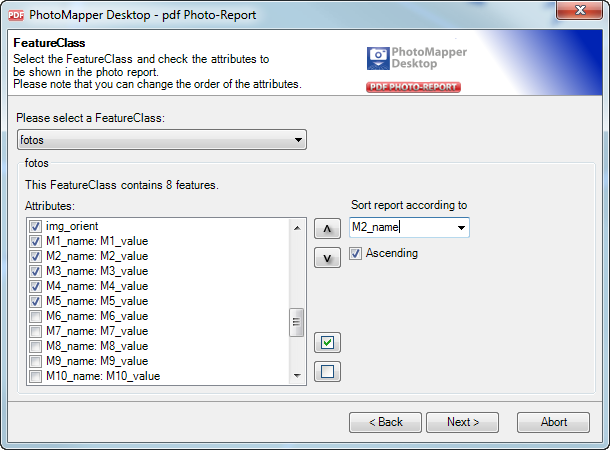
First choose the feature class containing the required photos. With the field below, you can activate the attributes which are to be displayed under the photos in the report. You can select or deselect all attributes in the process. Furthermore you can change the order of attributes and the sorting of your photos.
Step 2
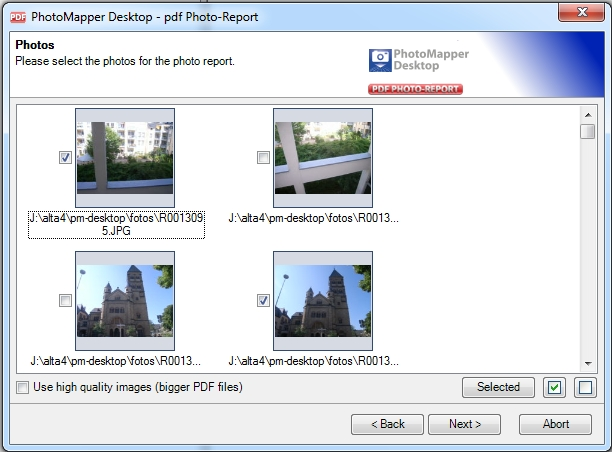
Choose the photos to be contained in the report. You can do this by setting or deleting the checkmark in the box next to the picture. Double-clicking the photo will achieve the same. Additionally, you may define if the images are to be exported using high quality.
NB!!! This will increase the image size by a factor of 20 and is only recommended for a smaller amount of photos. The number of photos depends on their original size.
Step3
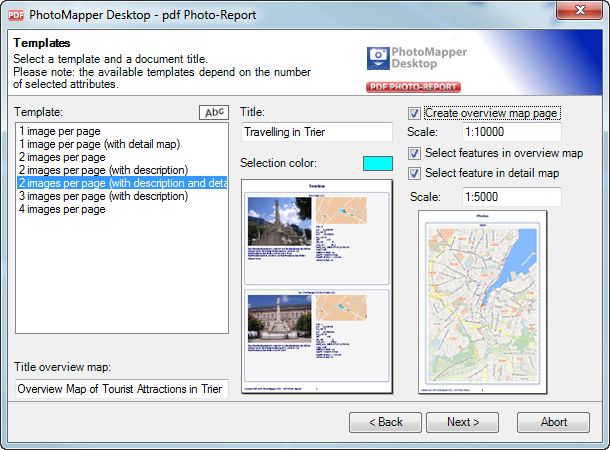
Give a title to the report and choose your preferred layout.
Depending on how many attributes you have chosen, PhotoMapper Desktop 10.7 will adapt the layout options. The availability of the templates depends on the number of chosen attributes. To better navigate through the report, photo names are used as bookmarks. Please tick if you want to highlight the respective images in the overview or detail map. Furthermore you choose the scale of the overview and detail map, if they are activated. To change the style of your template and getting more formatting options click the "Abc" button next to "Template:"
Step 4

In the following dialog box you will be able to title every single photo. In case you have chosen a template in the previous dialog box, that enables you to add a description, you will now be able to add a description to the photo.
Step 5
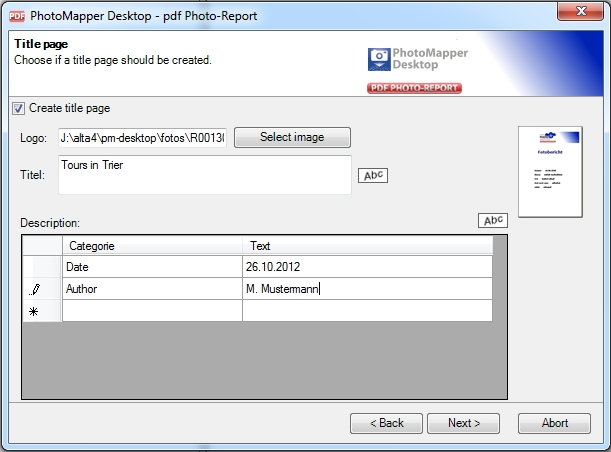
After you selected the "next" button, you will be able to add a cover to your report. Now you will be able to add a logo, or a title for your cover and even add text elements and edit the font settings for all your text elements. In order to add new text elements, just click the blank box underneath.
Step 6
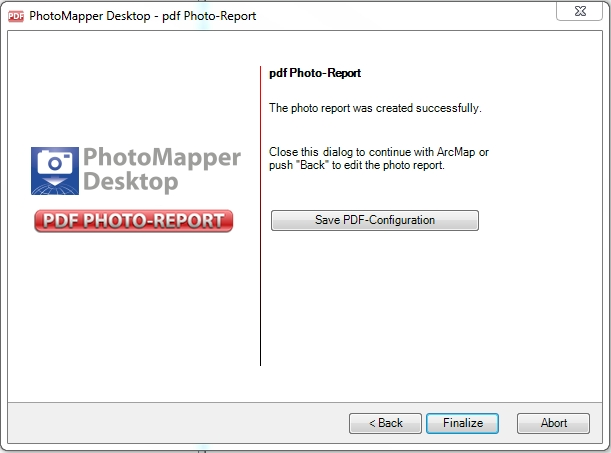
After you have chosen the file name and path, PhotoMapper Desktop 10.7 will create the PDF-Photo Report and opens it automatically. If you wish, you can print your Photo-Report and save the PDF-Configuration from this stage.
Hint: To view the report, you need the Adobe® Acrobat® Reader.
