Migration of atlasFX database
Open the manager URL of Apache Tomcat:
http://<server>:<port>/manager/html
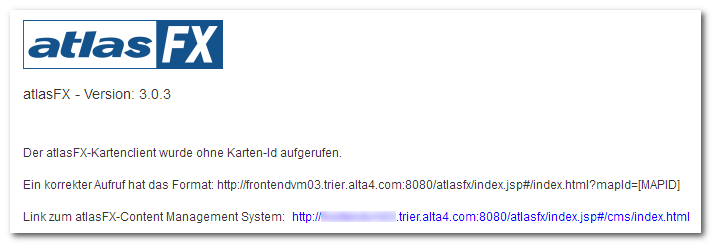
Click on the link "/atlasfx" to enter atlasFX. You will be directed to the following page:
First go to the administration panel of atlasFX to migrate the database.
To gain access to the administration area of atlasFX, enter the following URL in your web browser:
http://<server>:<port>/atlasfx/cms/admin/
Example:
http://frontendvm02.trier.alta4.com:8080/atlasfx/cms/admin/
A new windows will be opened asking for a login. Insert the password, which you entered in the "tomcat-user.xml" before, into the input fields "Username", "altasfx" and "Password".
Example:
Username: atlasfx
Password: alta4
The following page will be displayed:
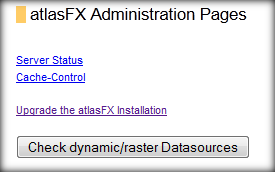
Follow the link "Upgrade the atlasFX Installation". A new page opens up.
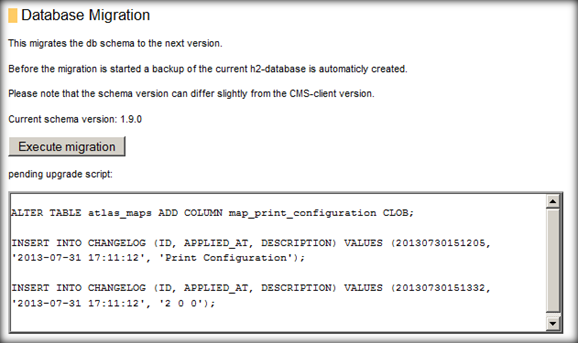
To migrate the database to the current version, press the button "Execute Migration".
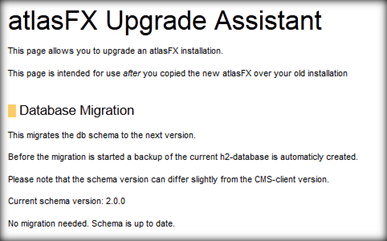
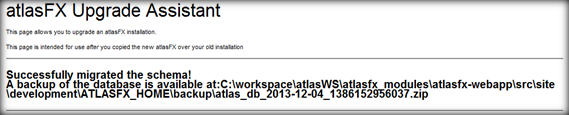
After completion of the migration step, the following message is displayed:
Repeat the process until the button „Execute Migration“ is no longer visible and the following note is visible at the end of the section "Database Migration":
„No migration needed. Schema is up to date.“