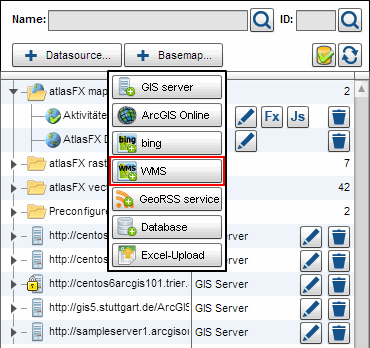
Adding a WMS
With the button "WMS", you can add a Web Mapping Service.
In order to use a WMS service in atlasFX, enter the URL in the dialog window that points to the GetCapabilites file.
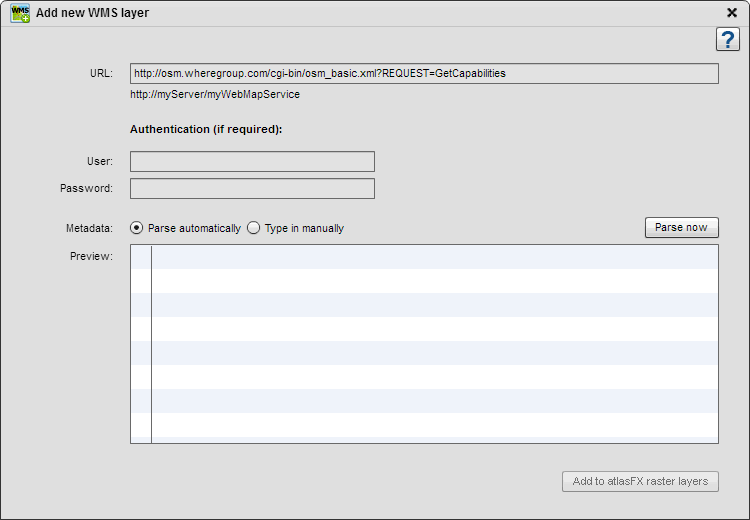
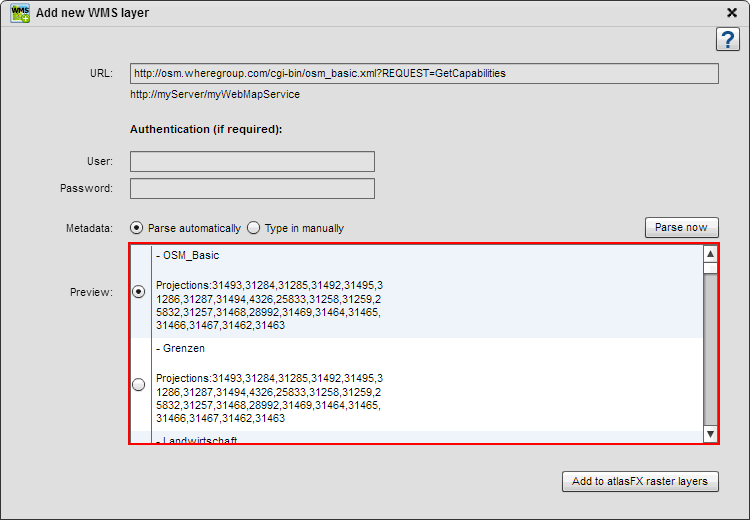
Press the  button and select the fitting meta data.
If the meta data is not recognized automatically, you can also set it manually. You have to provide the following information:
Name: that will later show up in the atlasFX browser
Version: WMS version
Visible layers: The names of the layers in the WMS that shall later be shown
Pay attention to use a wms compliant URL notation. Please also pay attention in case sensitivity.
The wms should show the following parameters, where the version number must be customized:
?REQUEST=GetCapabilities&VERSION=1.1.1&SERVICE=WMS
Keep in mind that the projection of the WMS has to match the projection of the background cache. If the server is not able to transform the WMS data into the requested projection, the displayed data will be distorted.
Now open the service in the atlasFX browser (under "atlasFX raster layers"). With a click on the layer name, an overview of the available properties pops up. Here you can edit the name and the URL of the WMS.
